This article explains how you can show a list of Events saved in Salesforce on your WordPress website. The information is pulled real-time from Salesforce using the Sawfish plugin.
The Calendar pulls the events live from Salesforce – so any event added on Salesforce shows up immediately on WordPress.
Your users would be able to view the events on a Calendar on the page, click on an event and view more info in a new page. Here you can add more field with event description, registration links, forms and more.

Here’s the steps we’ll follow:
- Set up a Calendar Page on WordPress with events from Salesforce
- Create a Detail page to show more information about the event
- Create a Formula field in Salesforce to generate links
- Link Calendar to Detail Page
In this example we display events from a Custom object named Sessions in Salesforce. These steps work for standard objects as well. The object you select should have a Date or DateTime field with the event info to set the dates on the calendar.
Creating the Salesforce Calendar on WordPress
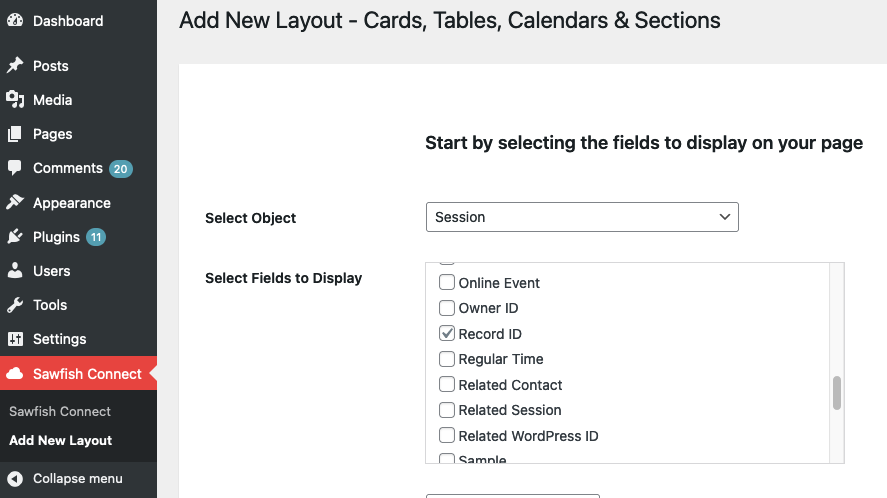
The first step is to select the object that has the Calendar events. From your WordPress dashboard, select Add New Layoutfrom the Sawfish plugin options.
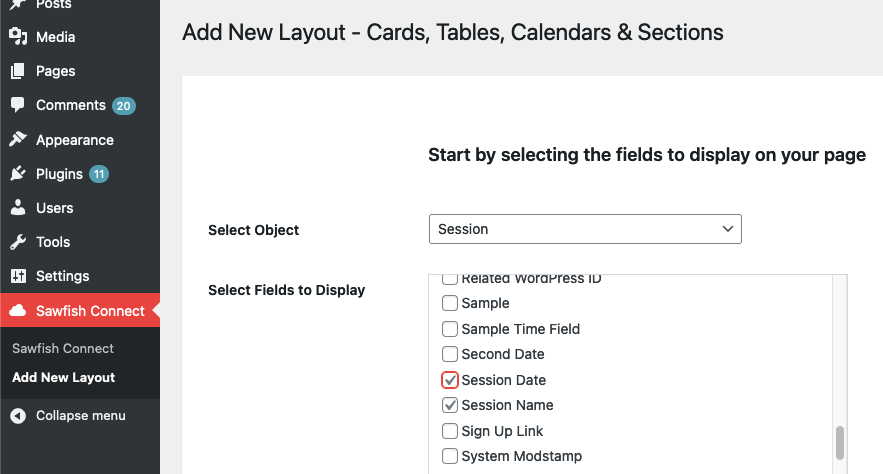
Select the Session object (or your event object) and Select the fields that have the name of the event and the Event date.

Set the Show Records as to Calendar
You would only need Event Name and Event Date field to build the calendar.
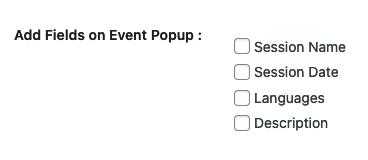
However, you can show additional fields either on the the Popup or the detail page in while.
You can also add filters to show selected events. Most of the time you would want to pull only events happening this month and the coming one. Set the filter to :
Session_Date__c = TODAY OR Session_Date__c = NEXT_N_DAYS:90

This would show events in the next 90 days (and include today).
Make sure the Event Name is set as the first field and Event Date as the second.

The calendar is ready to test!

Copy the shortcode and open the Add New Page option from the WordPress dashboard.
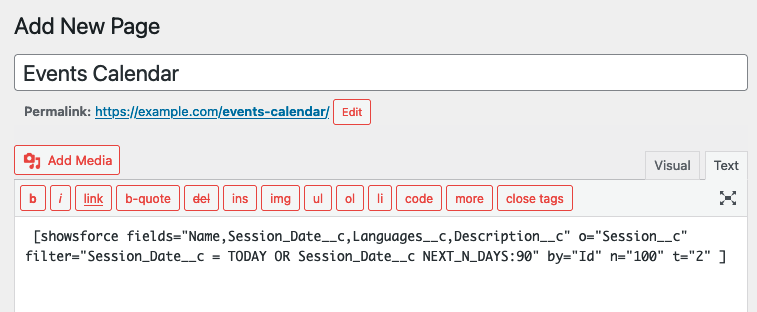
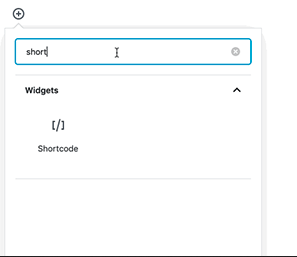
Now, paste the shortcode on the page editor. If you’re using the new editor, include the code by using the Shortcode Module.
For Elementor users, select the Shortcode widget or text widget.
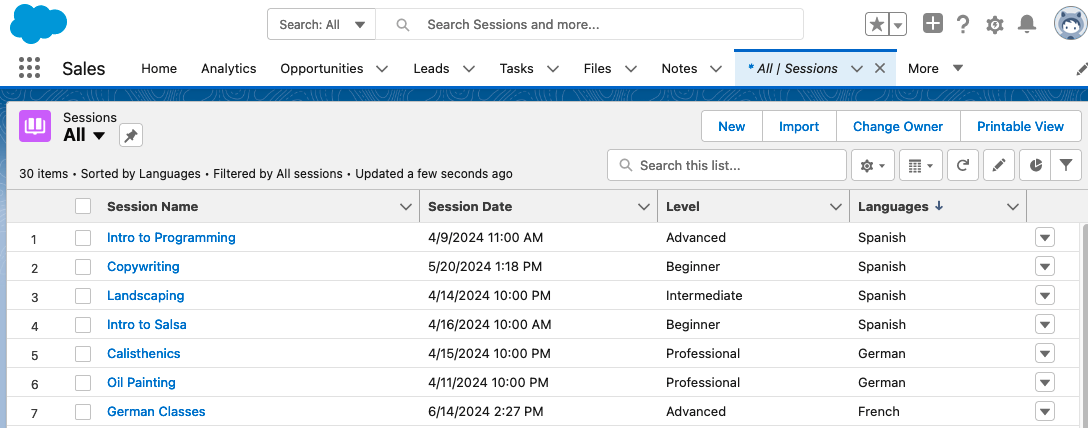
Preview how the page looks. The Calendar would look similar to the example below. You can also change the type of view to see events in Week, Day and List view.
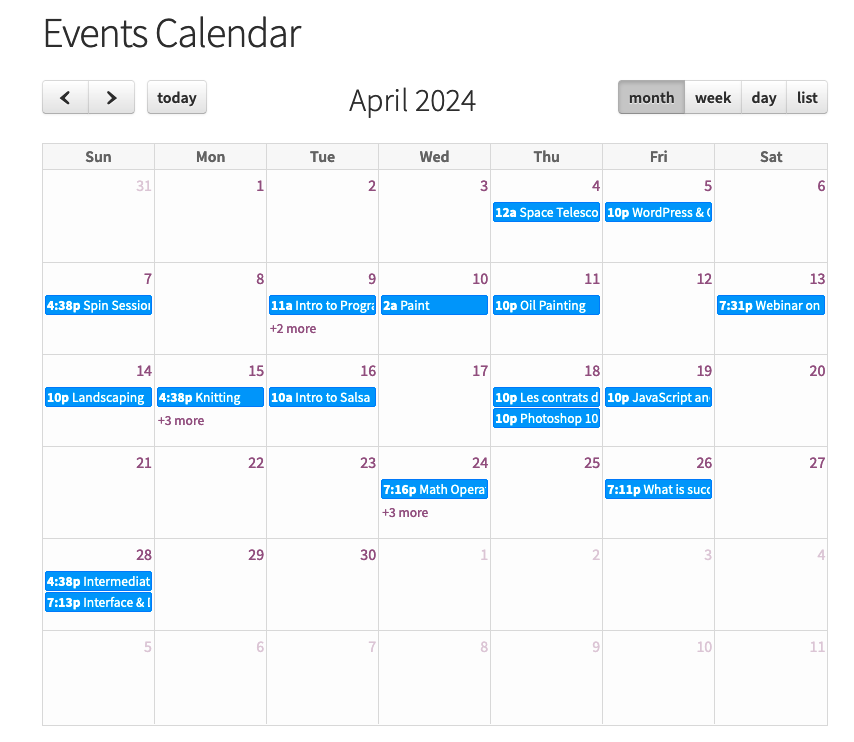
Optionally, if you set the Category: option you can view and filter events with a drop down option.
The events would be in color coded based on the value. In this case, the Calendar would look like this.
We will have to add the function to click on each events and show more info on a detail page. But before we get there, let’s create the detail page it would link to.
Create a Detail page to dynamically show more Event information
This page will show dynamically show information for any event based on the Id of the record. We will send this information to the page by using a url parameter eId.
https://example.com/event-detail?eId=0030M00002ZE21uQAD
This tells the page to get info of the specific event with Id : 0030M00002ZE21uQAD.
Let’s set up this query using the Sawfish plugin.
Open the WordPress dashboard in a new tab and click on Add New Layout.
Select the Session object and select the ID field.
In the filter section enter:
Id = {!eId}
This tells the plugin query the event to use the Record ID sent in the link through the eId value

Set the Show Records as option to Section. This lets us build custom layouts combining text and Salesforce fields.
Copy the shortcode. Now, let’s Create a New Page on WordPress for the event detail. Click Add Newpage and paste the shortcode.
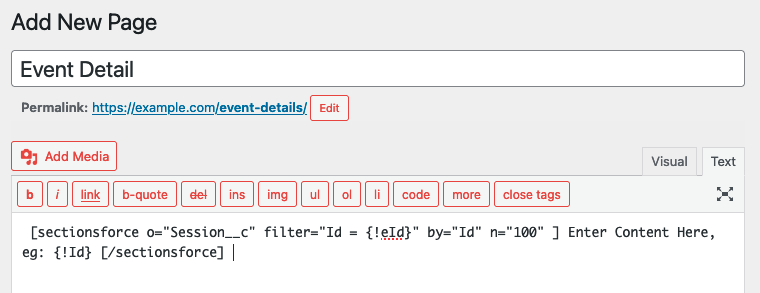
You’ll notice the {!Id} field in the shortcode. You can add content with any field here (between the [sectionforce] and [/sectionforce] shortcode) and combine HTML elements using the {!FieldName} format, similar to the syntax used in Email Templates. For a full list of fields and labels, check out the Fields and Relationships page from Salesforce Object Manager.
Let’s add some basic event info:
[sectionsforce o="Session__c" filter="Id = {!eId}" by="Id" n="1" ]

Event Name: {!Name}

Language: {!Languages__c} <br>
Date: {!Session_Date__c}

[/sectionforce]
You could also add HTML elements to format it better. The shortcode supports HTML, CSS and JavaScript.
[sectionsforce o="Session__c" filter="Id = {!eId}" by="Id" n="1" ]

<h2> Event Name: {!Name} </h2>

Language: {!Languages__c} <br>
Date: {!Session_Date__c} <br>

[/sectionforce]
All set! We are ready to view the page.
We would need a sample event Id to see the field values. Open any event record detail page on Salesforce and copy the Id from the address shown in your web browser.
![]()
We’ll modify this link to pull information of a specific event, to the end of the link add ?eId= and the Id copied from Salesforce.
The link would be :
https://example.com/detail-page?eId=a0128000009JjpuZAC
or
https://example.com/detail-page?page_id=2945&preview=true&eId=a0128000009JjpuZAC
if you’re in preview mode.
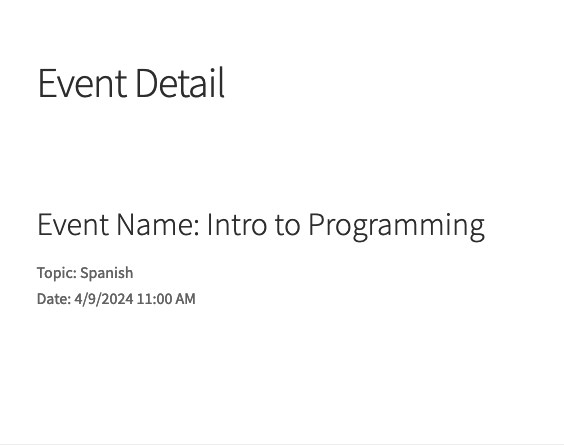
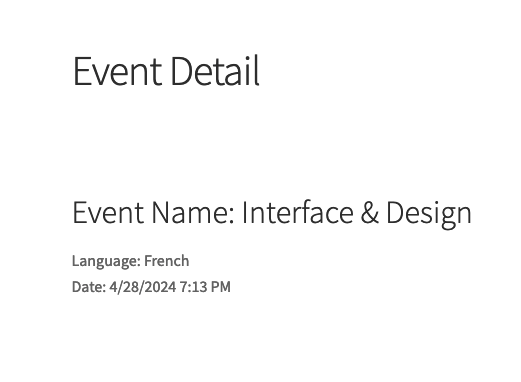
Here’s how the page would look like!
Try it out with another event record Id, it will replace the field values.
As next steps we need to :
- Create the links dynamically for each event
- Retrieve these links onto the Calendar
Since the links are based on the record Id we can create a formula field generate them for each event.
Create a Formula field in Salesforce to generate links
On Salesforce, open Fields and Relationships page from Object Manager. Select the Session object or the object that has the events.
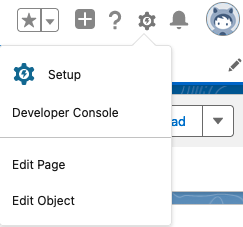
You can also select Edit Object from your Event object detail view to quickly go to it’s Object Manager setting.
From Fields & Relationships, click New.
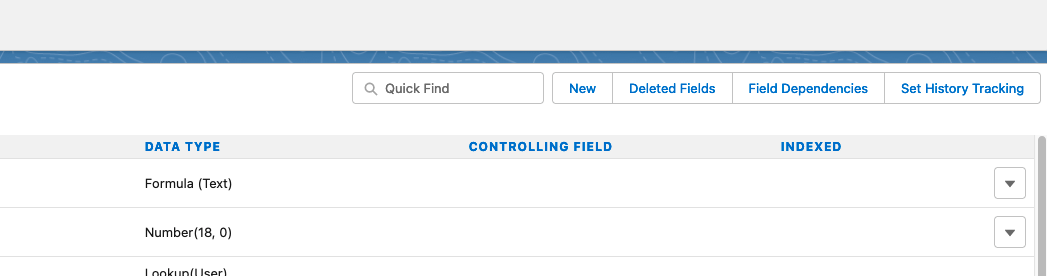
Select Formula.

You could set the Field Label as ‘Event Detail Link’.
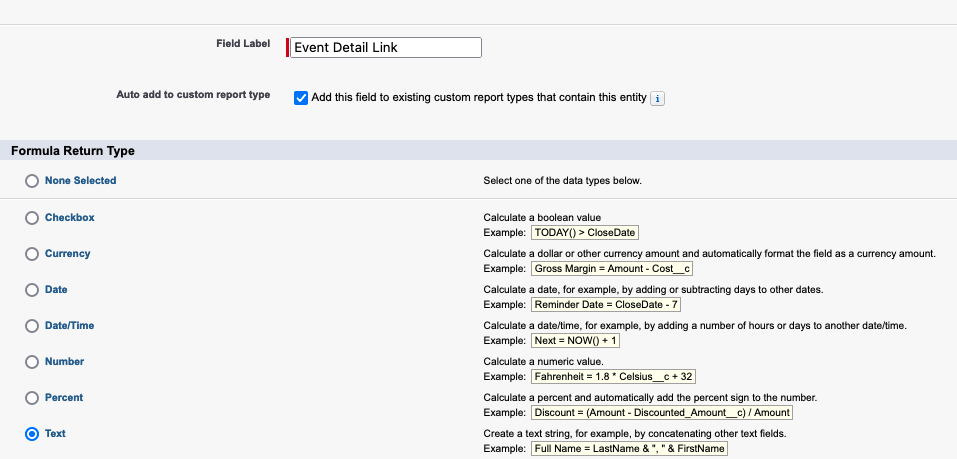
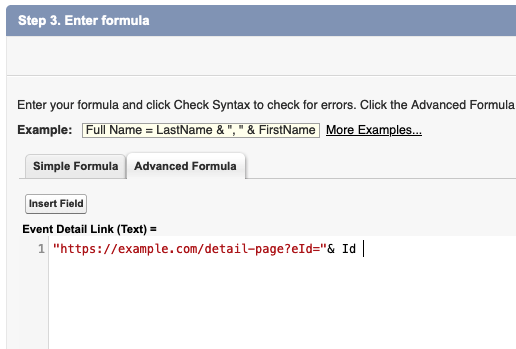
Set the Return type as text. In the formula editor enter the link within quotes.
"https://example.com/detail-page?eId="& Id
replace your website’s event detail page link here.
Click Next, review the options you’d like then Save.
Now, open the detail page of an Event record and check out the new Field. The field shows the specific detail link for each event.
![]()
Now, we can include this in the calendar to make it click and navigate to this page.
Link Calendar Events to Detail Page
Select Add New Layout from the WordPress dashboard to create the Calendar with the new Link. Select the Object and fields again along with the filter as we did in the first step.

Select the Event Linkfield and set it to the New Formula field we created.
Copy the shortcode and paste it the Calendar page. Make sure to replace the Calendar shortcode we had before.
All done!
Now we have a clickable Event Calendar that links to an Event Detail page. When the user clicks on the event from the view it will automatically open the detail page to show more information.
Need help setting it up? Just send us a quick email and we’ll set up this feature for you site in minutes! No extra charges. 🙂