Elementor is one of the most popular page builders used right now to quickly build sites with drag and drop elements. Forms is one such element that you can use to collect user information.
Using the Sawfish plugin you can send this information in real-time in Salesforce. Your can set it up to both create and update records in both custom and standard objects like Accounts, Contacts, Leads etc.
What’s more, using Elementor’s submissions feature you will be still be able to optionally use other form actions like Emails, Collect Submissions in parallel.
How do I connect Elementor form to Salesforce?
-
-
- Install the Sawfish plugin to set up the connection to your Salesforce. Using the plugin you can both show Salesforce information on your WordPress website and send information to Salesforce from WordPress.
- Open the page you’d like to Edit in Elementor.
- Add the Elementor Forms element to the page, you might need Elementor Pro for this.

- If you’d like to use an normal form without Elementor Pro follow the steps here.
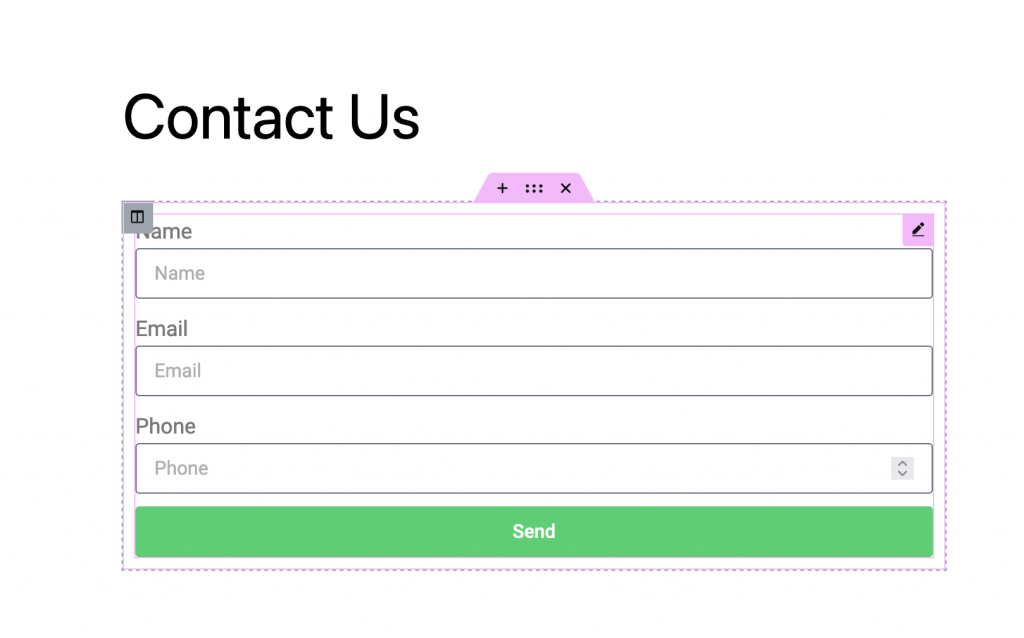
- Let’s setup a form to create a Contact. If you’d like to setup a form to Update records in Salesforce, be sure to set the value in step 10!
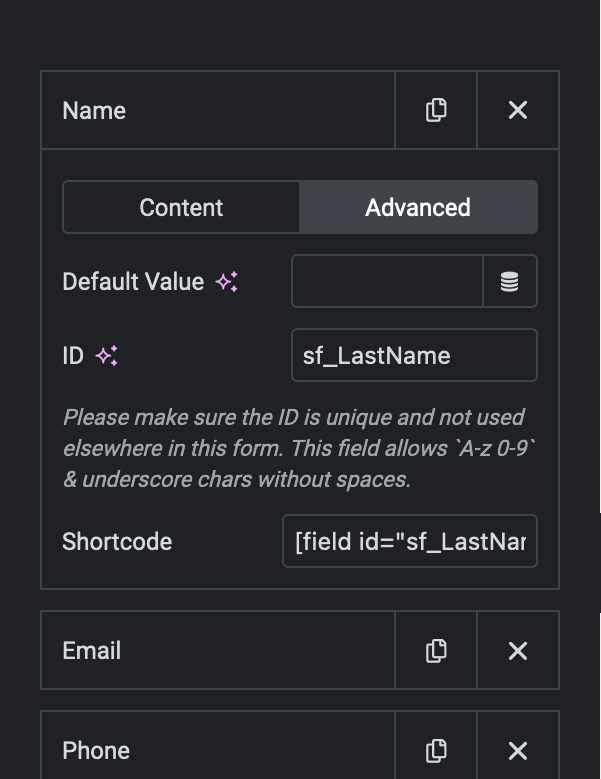
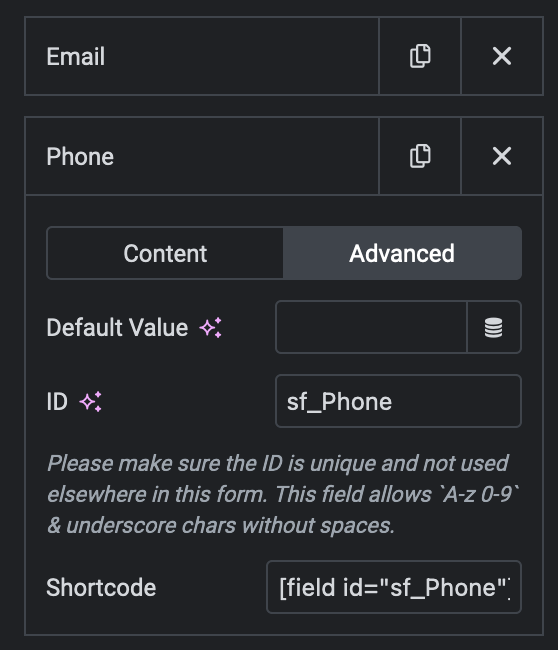
- To connect a form field to the Contact record, click on field, and then select Advanced. Select ID, here enter sf_ followed by field API name. Eg: sf_LastName. You can easily get the field API name by following the steps here.
- Add all the fields you’d like in the form. Make sure that you have added all the required fields to create the object and satisfy all validation rules that you have setup on Salesforce.
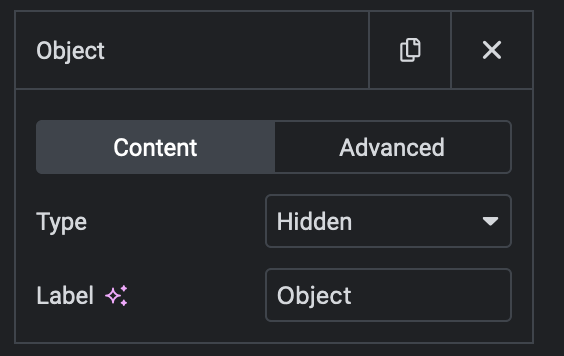
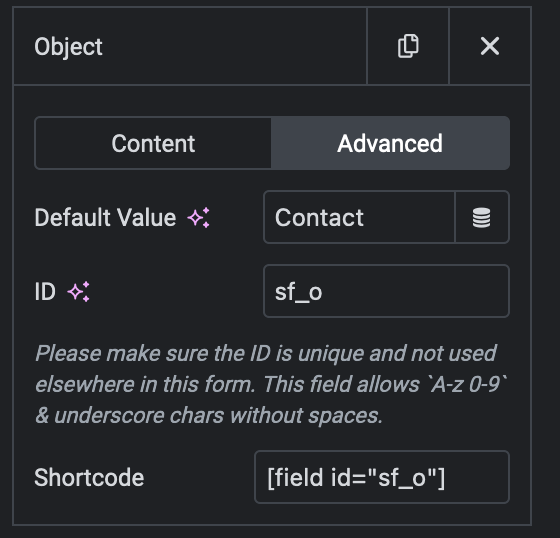
- Now, in addition to the fields we will also specify two hidden fields. Firstly, we have tell Salesforce about the object we are connecting to. Create a hidden field with id : sf_o , and set the object API name as the default value. For contacts this would be sf_o, default value Contact. If you’re connecting to a Custom object you’d specify CustomObjectName__c. You can get the API name of any object by going to Setup->Object Manager in Salesforce.
- Since we are using this form to create records, mention an additional hidden field named Form Type, with ID as sf_form and set value as create.
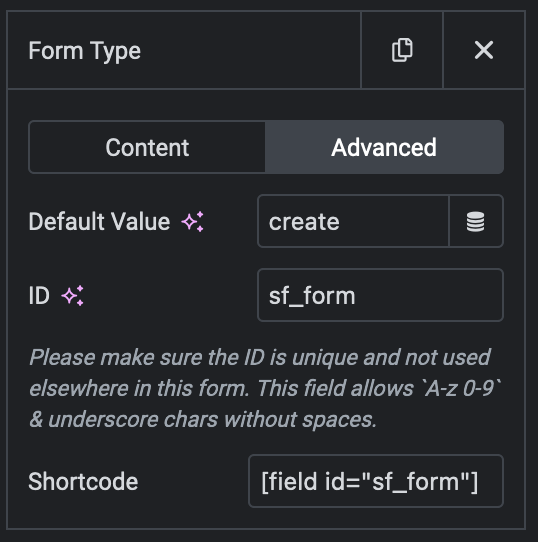
- If you’d like to use the form to update records, set sf_form to update. To update records we also have to tell Salesforce which record we are updating by specifying the record Id (eg: 0032800000RM3QPAB1). Create a hidden field and mark the id as sf_Id. Usually you’d set this value dynamically from the URL (Elementor Dynamic Tags) or by retrieving on the page using the Sawfish plugin. We can help you set this up!
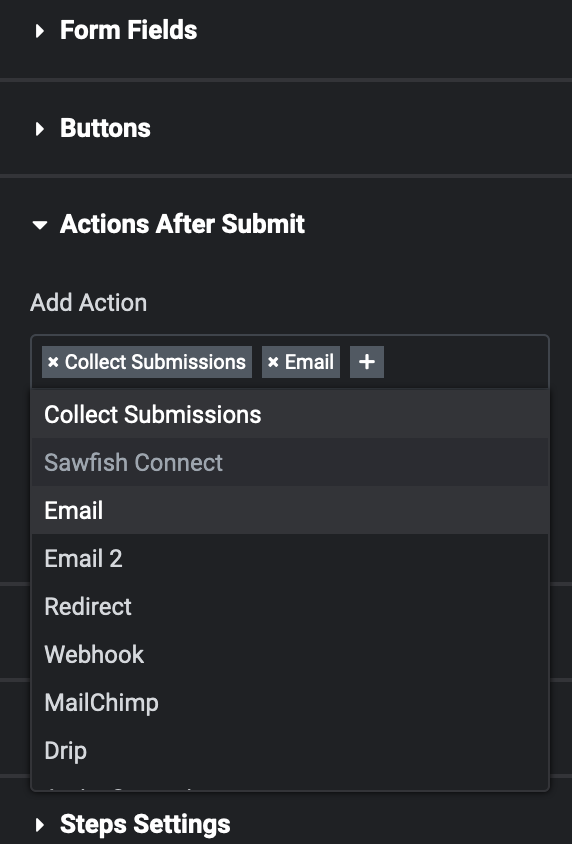
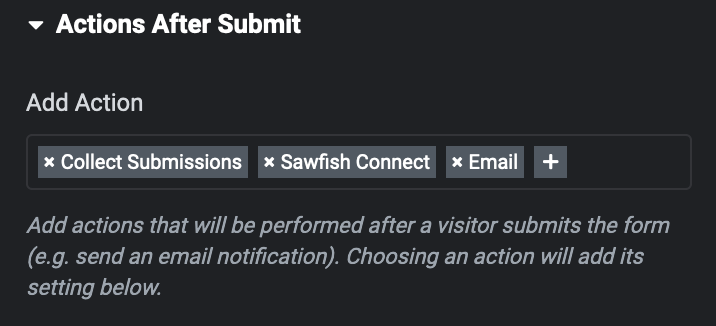
- Finally, in the form setting click on Actions after Submit and click on Sawfish Connect. This will send the form information to Salesforce when the form is submitted. Optionally, you can also add in your other form actions here like Email, Collect Submissions etc.
- That’s it! Click Update and your form is ready to send information to Salesforce.
-