This article explains how you can create WordPress users login on Salesforce automatically when Contact and other object records are created on Salesforce.
Are you setting up a Salesforce-WordPress portal for your site?
You can use the Sawfish pluginto create unlimited number of logins through WordPress by connecting them to Contact or other objects on Salesforce. The plugin will automatically match them to their record on Salesforce when your users login to your WordPress website.
This means your users can securely login and manage their info without your team having to buy additional licenses or do manual data updates. You can check out more details of this feature below:
In most cases you might only want to create records from WordPress to Salesforce. However, there are instances that need a creation of WordPress logins from Salesforce as well. For instance your Salesforce admins and users can quickly enter info about your customers and create logins on completion. If you’re looking for WordPress to Salesforce record creation, check the post below.
You can automate the Salesforce Apex part of the instructions with no coding using a free extension. Just send us a quick email and we can send it over. No extra charges. 🙂
How to Create WordPress Users using WordPress REST API from Salesforce
You can create WordPress users through WordPress REST API and Salesforce Apex Callouts. WordPress provides REST API endpoints to access a lot of functionality that’s available from the WordPress dashboard like creating posts, creating users, getting a list of posts and more. Salesforce can make API calls from within Apex Classes, this means you would be able too automatically perform various WordPress tasks from withing Salesforce.
The Apex class calling the WordPress API can be easily set to run when a Contact or Account record is created. Here’s the steps to set it up:
- Create an Application Password in WordPress for user authentication
- Build cURL request to Create Users using WordPress REST API
- Add your Website to Salesforce Remote Site
- Create the Apex Class on Salesforce to create WordPress User via API
- Connect the Apex Class to Flow or Trigger
How to Create an Application Password for user authentication
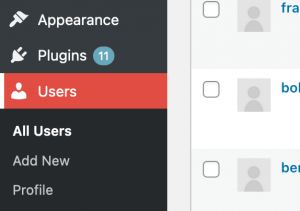
You can create an Application Password from the User profile page in WordPress. This password an be used to create Users and perform other actions using the WordPress REST API. Login to the WordPress dashboard and click on Users. From the list of users, select the user you’d like to authenticate with. Note that the user needs to have permissions to create new logins.
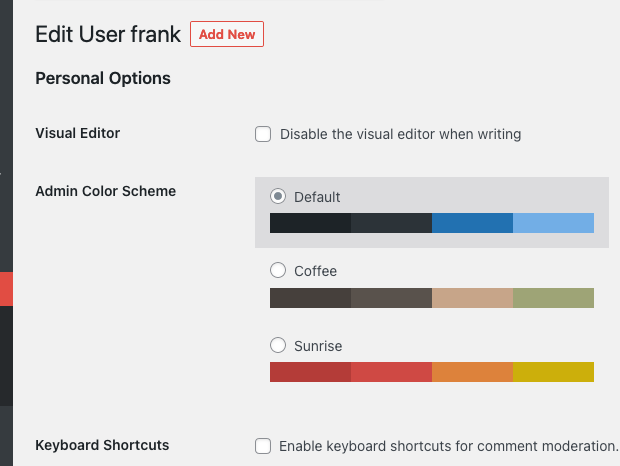
Click on the username to open the Profile view.
Scroll down to to the Application Passwords section. Enter a name for the Application, here we named it Salesforce API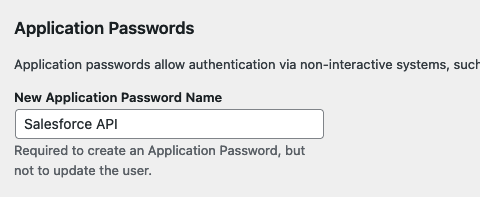
Click on Add New Application Password
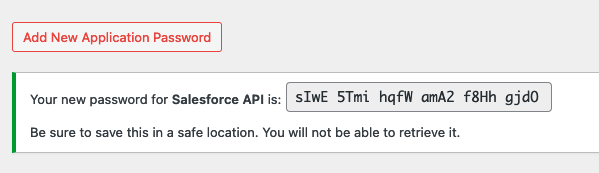
Note down this password, you can use this to authorize the user while using the WordPress API.
How to Create Users using WordPress REST API
You can create users by making a POST call with the required user arguments. The WordPress REST API documentation specifies the arguments that are required to create users and the url to send the POST request.
/wp/v2/users
The full url would be your website and the request URL
https://example.com/wp-json/wp/v2/users
List of required arguments, full list is available here :
| Login name for the user. | |
| The email address for the user. | |
| Password for the user (never included). |
Here’s how the cURL request would look like to create a new login John Smith, we will replicate this with Saleforce Apex.
curl -XPOST -d '{ "username": "john", "name": "John", "first_name": "John", "last_name": "Smith", "email": "[email protected]", "password":"5Z9@dg&$0t","roles":["subscriber"]}' 'https://example.com/wp-json/wp/v2/users/' --user "frank:sIwE 5Tmi hqfW amA2 f8Hh gjdO" -H "Content-Type: application/json"
Note how in the ‘–user frank:sIwE 5Tmi hqfW amA2 f8Hh gjdO’ part we authorize with the username and the application password we setup earlier.
Add your Website to Salesforce Remote Site
Before making to API calls from within Salesforce, you would need to add the URL to the Remote Site setting.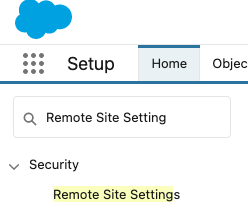
- Go to Salesforce Setup and enter Remote Site Settings in the Quick Find box, select Remote Site Settings.
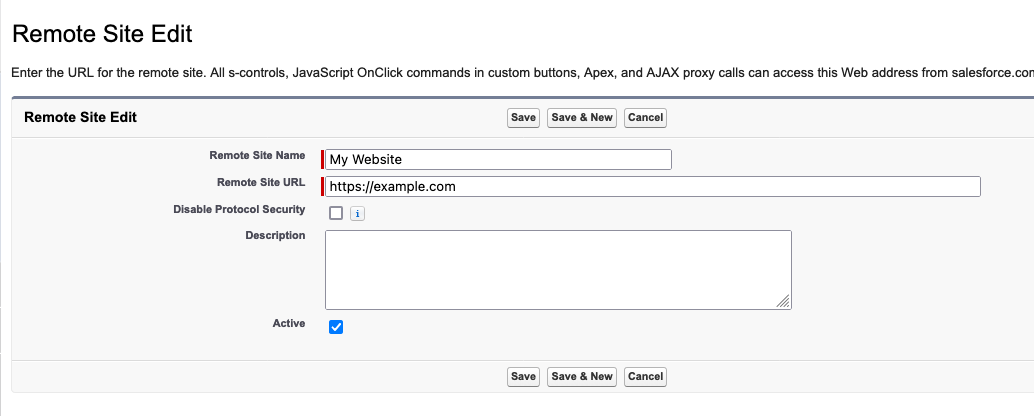
- Click New Remote Site.
- Enter the Remote Site Name.
- Enter your website URL.
- Click Save.
Create the Apex Class on Salesforce to create WordPress User via API
Now that we have added the Remote Site and set up the WordPress Application credentials, we can now make the POST call to create users on the website. The below code shows how to make a callout. It’s a basic example that can be customized based on your implementation. You’ll also need to create the test classes accordingly.
public class WordPressCreateUser {public void create(){

	 //Ideally pass first name, last name and email as parameters

	 HttpRequest req = new HttpRequest(); HttpResponse res = new HttpResponse(); Http http = new Http();

	 //Ideally move these to custom settingString username = 'frank';//the username of the login you want to use for authorizing, this can be better setup using Named CredentialsString password = 'sIwE 5Tmi hqfW amA2 f8Hh gjdO'; //the Application password

	 Blob headerValue = Blob.valueOf(username + ':' + password);String authorizationHeader = 'Basic ' + EncodingUtil.base64Encode(headerValue); req.setHeader('Authorization', authorizationHeader);

	 //Ideally move these to custom settingString domain = 'https://example.com'; //your WordPress domainString endpoint = '/wp-json/wp/v2/users/';

	req.setEndpoint( domain + endpoint );	req.setMethod('POST');	req.setCompressed(false);

	//these are to be set based on the arguments	req.setBody('{  "username": "john",  "name": "john",  "first_name": "John",  "last_name": "Smith",  "email": "[email protected]", "password":"5Z9@dg&$0t","roles":["subscriber"]}');//Here you can also use the   JSONGenerator gen = JSON.createGenerator function

	req.setHeader('Content-Type', 'application/json');System.debug(req);try { res = http.send(req);}catch( System.CalloutException e ) {System.debug('Callout error: '+ e);}System.debug(res.getBody());}}
Connect the Apex Class to Flow or Trigger
After creating the apex class to create the WordPress user you can now set it to launch from a Flow, Process Builder or Apex Trigger. This way when a record is changed or created in Salesforce, you can create the user record on WordPress.
Need help setting it up? Just send us a quick email and we’ll set up this feature for you site in minutes! No extra charges. 🙂