This guide covers everything you need to know about External Client Apps and moving your current Connected Apps to External Client Apps.
Difference between External Client App vs Connected App
External Client Apps are the modern, more secure version of Connected Apps. While Connected Apps have always been the standard for linking external tools to Salesforce, they are difficult to package and move between environments because their settings are all lumped together. While Connected Apps are being retired, the exact same functionality can be easily setup on External Client Apps.
Moving your current Connected Apps to External Client App
Here’s how to connect or migrate your apps to the External Client App framework.
-
- Open Setup by clicking on the gear icon on the top right
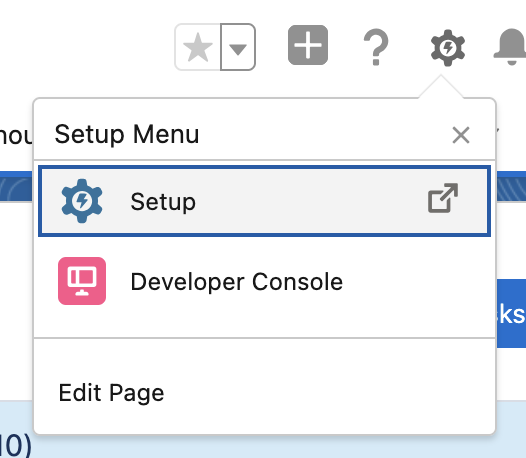
- You can use the search bar to quickly find. External Client App Manager.
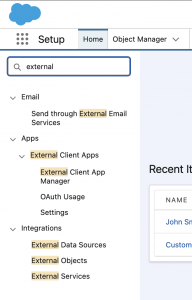
- Click on Create New External Client App.

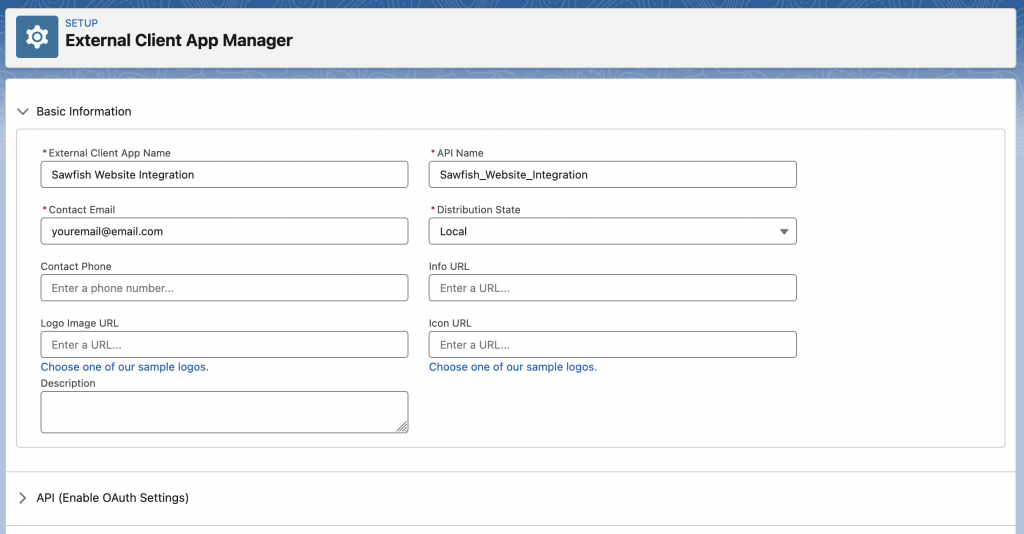
- In the Basic Information section you can enter the details of your application. Enter the app name and your email.
- Open Setup by clicking on the gear icon on the top right
What to Enter in Distribution State in External Client App?
If you’re a Salesforce admin setting up the connection for your particular organization, you would only need to set Distribution State as local. The Packaged option if useful if you would like to package it for further distribution.
Setting up OAuth 2.0 Apps with External Client
Scroll further down on the page and open the API (Enable OAuth Settings) tab. Click on the Enable Auth checkbox to open the menu. Here you will enter the the app Callback URL and OAuth Scopes.

What is Callback URL in External Client App
The Callback URL acts as the designated secure path for the OAuth connection. It is the address
where Salesforce sends the authorization code or access token after a user is validated.
After installing the Sawfish plugin, you can copy the URL directly from Sawfish Connect page in WordPress dashboard.
What Scopes to Select in External Client App
OAuth scopes define what actions and resources that application has access to.
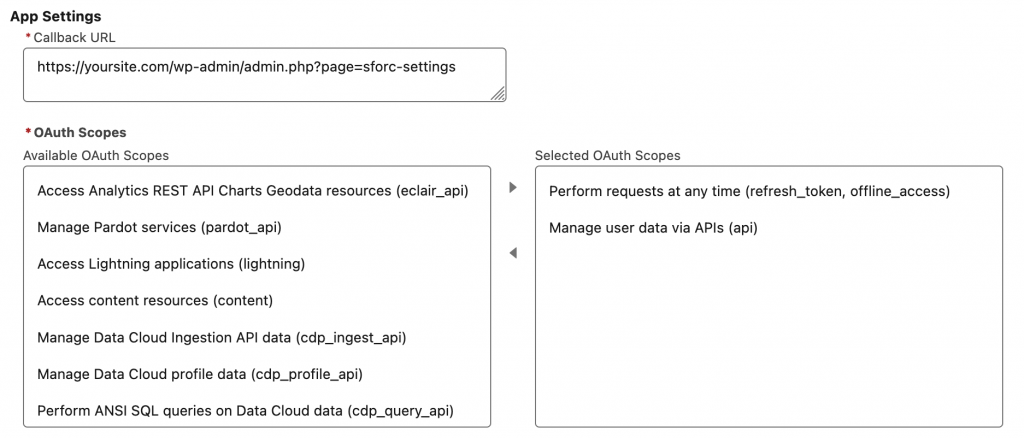
For the Sawfish plugin select
- Perform requests at any time (refresh_token, offline_access)
- Manage user data via APIs (api)
. The plugin uses this to send and receive data between Salesforce and your WordPress website.
Note: Make sure to uncheck the checkbox Require Proof Key for Code Exchange (PKCE) extension for Supported Authorization Flows

Almost set! Click on the Create button at the bottom.
External Client Apps has an additional setting that you would need to update to ensure uninterrupted connection. Re-open the newly created app from the Manage External Client Apps Menu.
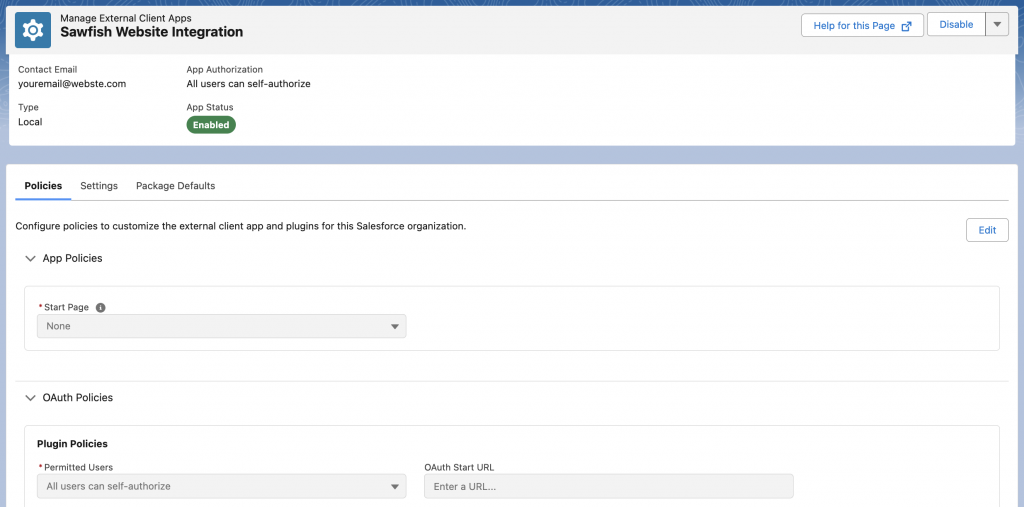
Click on the Edit button in the Policies tab.
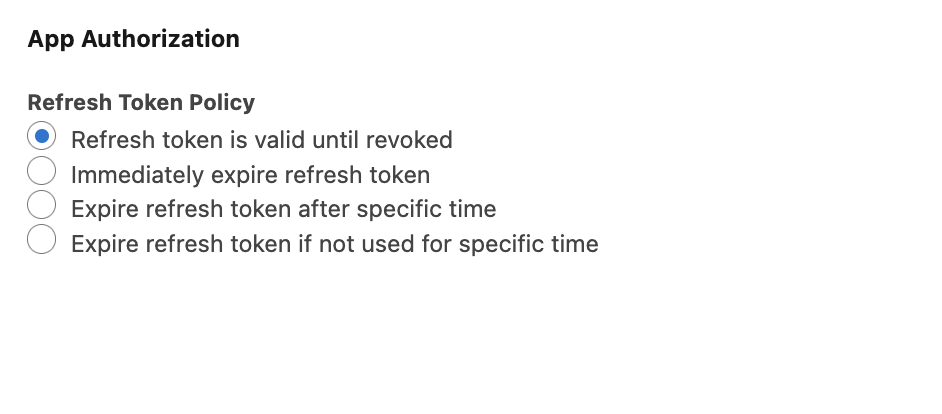
Find the App Authorization policy setting at the bottom left and select Refresh token is valid until revoked.
Click Save.
In Connected App all apps were set to be permanently connected until they were revoked from Salesforce OAuth page.
What is Refresh Token Expiration
A Refresh Token is a like a digital key that allows your integration to stay connected and request new access sessions automatically without requiring a user to log in again.
So setting the Refresh Token Expiration determines how long your app can stay connected to Salesforce without a human having to log in again.
Setting it to Refresh token is valid until revoked ensures there are
-
No Interruptions: If the token expires, your integration (like Sawfish) will suddenly stop working until someone manually re-authenticates.
-
Set It and Forget It: Ensures that background tasks and automated syncs keep running 24/7 without needing constant maintenance.
-
Better User Experience: You won’t have to deal with annoying “session expired” errors or “re-connect your account” prompts every few weeks.
Where to See Consumer Key and Consumer Secret in External Client App
Next you can access the Consumer Key and Consumer Secret needed to connect your application. In External Client Apps you can view this info anytime selecting the App from the External Client App Manager and then selecting the Settings tab.
Scroll down and open the OAuth Settings section and click on Consumer Key and Secret.
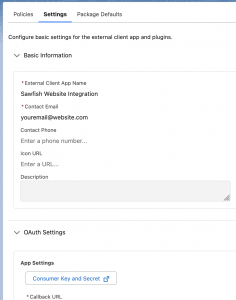
You can then Copy the Consumer Key and Consumer Secret shown on the screen.
Insufficient Privileges
You do not have the level of access necessary to perform the operation you requested. Please contact the owner of the record or your administrator if access is necessary. For more information, see Insufficient Privileges Errors.

If you see this error in External Client App, make sure to add to add the below permission.
How to Grant Permission to Consumer Key and Consumer Secret

In order to resolve the Insufficient Privileges error, open the profile associated with your Profile and add the View all External Client Apps, views their settings, and edit policies permission.
Stuck on a particular step? Feel free to send us a message or email us if you’d like more information on setting this up.