
Select the Setup from the top right.
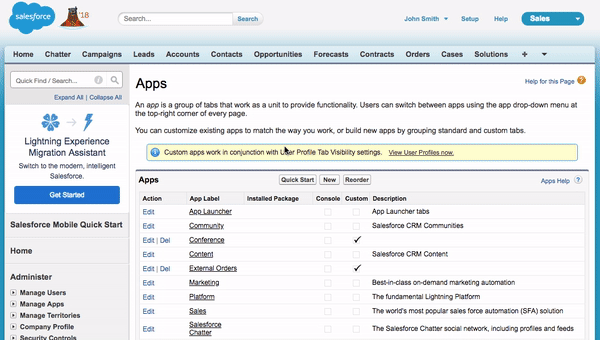
Once in the Setup page, in the Quick find search – type ‘apps’ and click Apps to open
You’ll be in the Apps page. Scroll down and in the Connected Apps section, click New
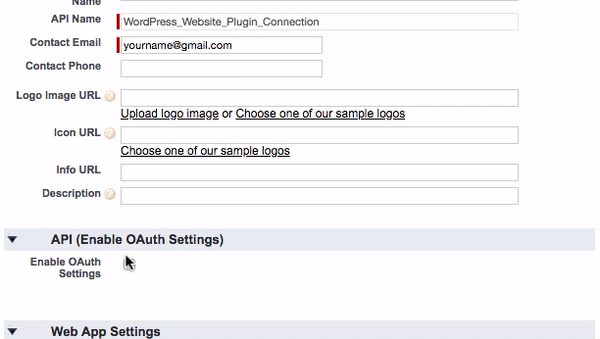
This is where we will define the Connected App details
You may enter any name here, let’s enter WordPress Website Plugin Connection
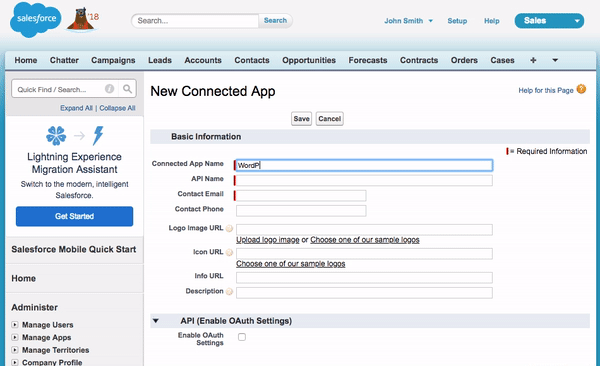
Enter your email in the Contact Email field
We’ll need to set two more fields
First the Callback url – it tells Salesforce where our plugin resides. To get this url link navigate to the plugin page on your WordPress Dashboard.
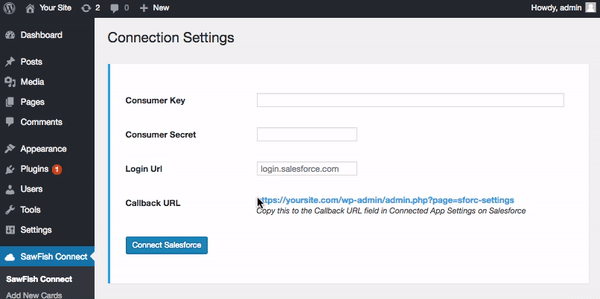
Copy the Callback URL from the Plugin Page.
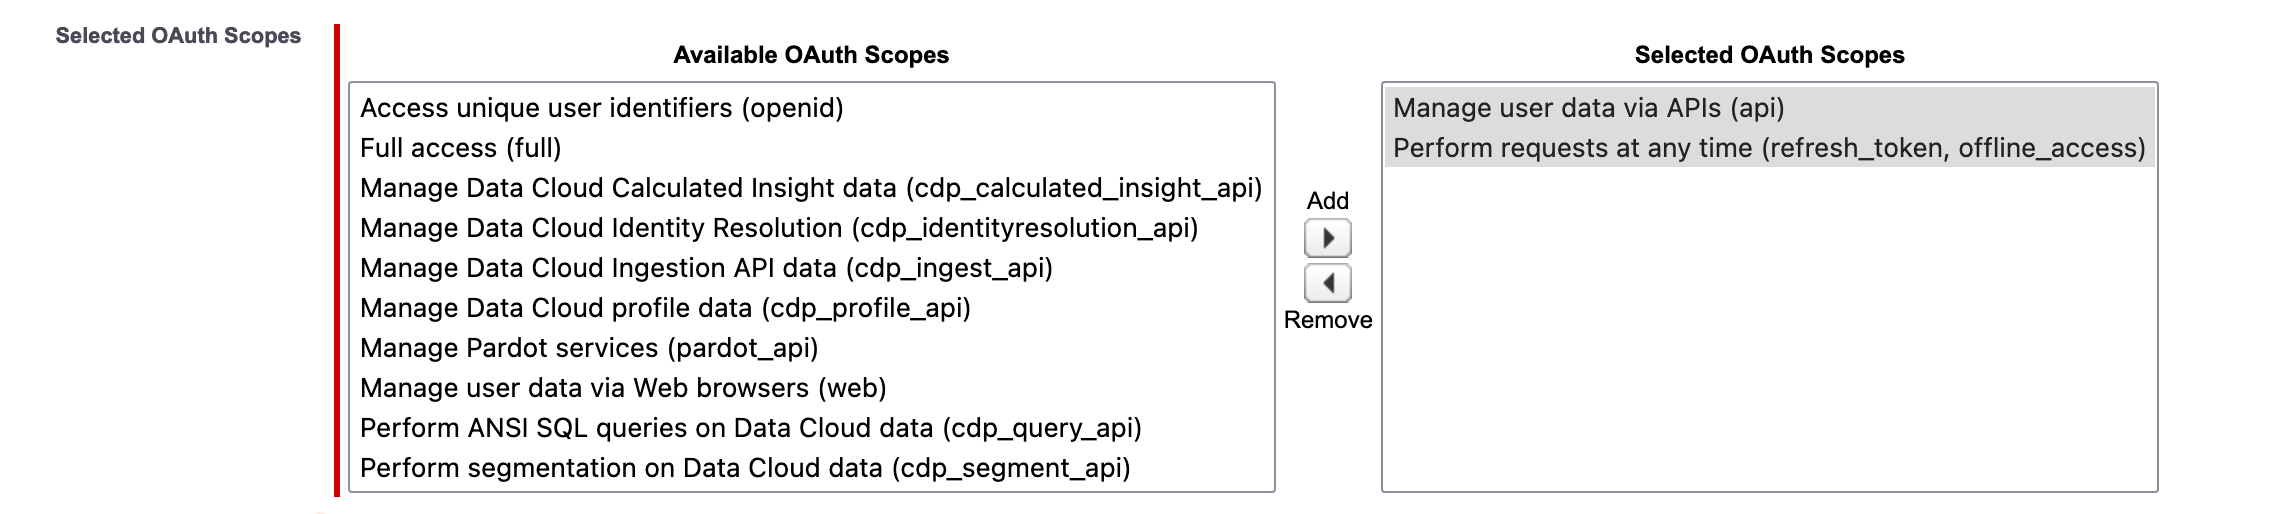
Back in Salesforce, in the API section of the Connected App, select the Enable oAuth Settings checkbox. The oAuth section is enabled, paste the Callback URL field.
in the Available oAuth Scopes option pick the api and refresh_token, offline_access scopes.
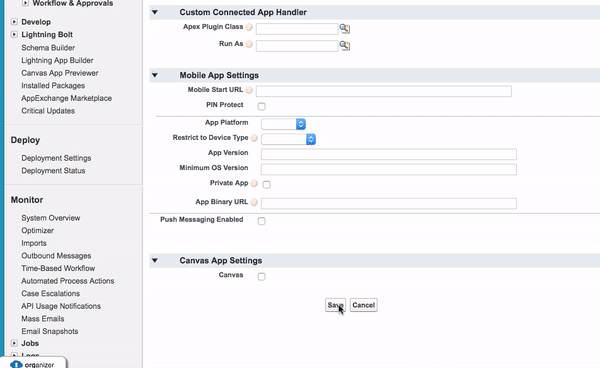
IMP: Make sure the Require Proof Key for Code Exchange (PKCE) Extension for Supported Authorization Flows is unchecked.
All Done! Scroll down all the way to the bottom and click Save
After saving you’ll see the confirmation screen, click Continue
The Connected App has been created, you will now see the Consumer Key and Consumer Secret values assigned to our app.

We will use these values to connect to Salesforce from our WordPress site.
In the final step we’ll copy these values to our Plugin and complete the connection.
If you’re interested about knowing more about the workings of Connected App, here’s a link to the Official Documentation from Salesforce